Digital Effects
On this page
Using effects and models
A virtual block contains a chain of digital pedals followed by optional amp and cab stages. Place the block in the main route, then open it to add and edit its contents. Follow Your first preset for the effect-library and editing walkthrough.
NAM captures are downloaded models that you can load into those virtual chains. Amp captures appear under Amps → NAM, while pedal captures appear under Pedals → Neural. Downloading a capture adds it to the library; you still need to select it in a virtual block and save the preset that uses it.
Downloading NAMs from TONE3000
Use Launchpad's website browser to download NAM captures directly onto Artemis. Connect to Wi-Fi before starting. If you are working in Houston, save your preset first, then use Return to Launchpad in the Home pop-up.
1. Open TONE3000
In Launchpad, select Websites, find Tone 3000, and tap Open.
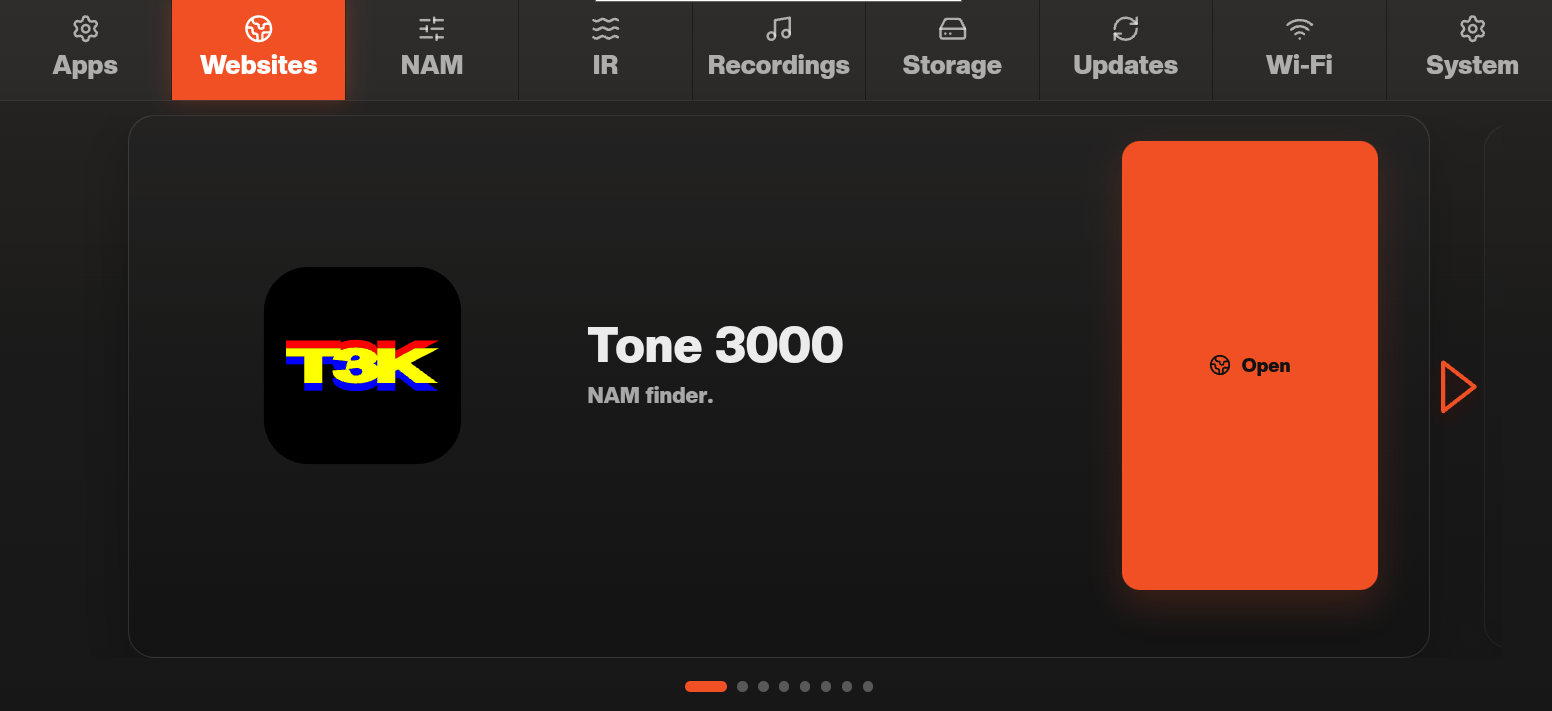 Launchpad Websites tab showing the Tone 3000 NAM finder and Open button
Browse or search for a capture, then open its tone page. Check the description and capture type so you know whether you are downloading an amp, an amp with a cab, or a pedal. The illustrated Marshall tone is labelled Amp + Cab Capture.
2. Download a tone
Tap Download Tone on the tone's page. If a further choice is offered, choose Just download tone to download the capture to Artemis.
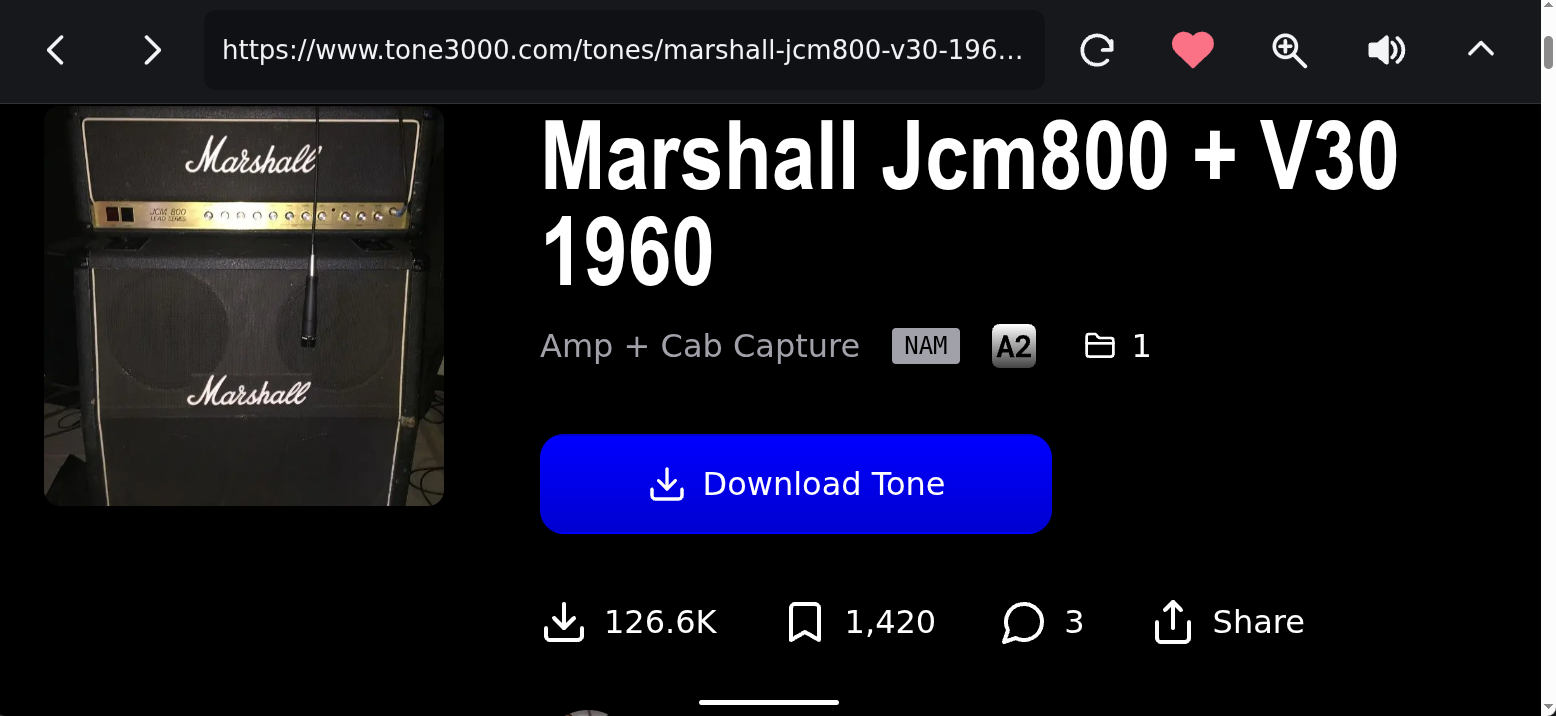 TONE3000 tone page showing an Amp plus Cab NAM capture and the Download Tone button
Wait for the browser's download indicator to finish. The example below shows the download still in progress at 99%; let it complete before leaving the browser.
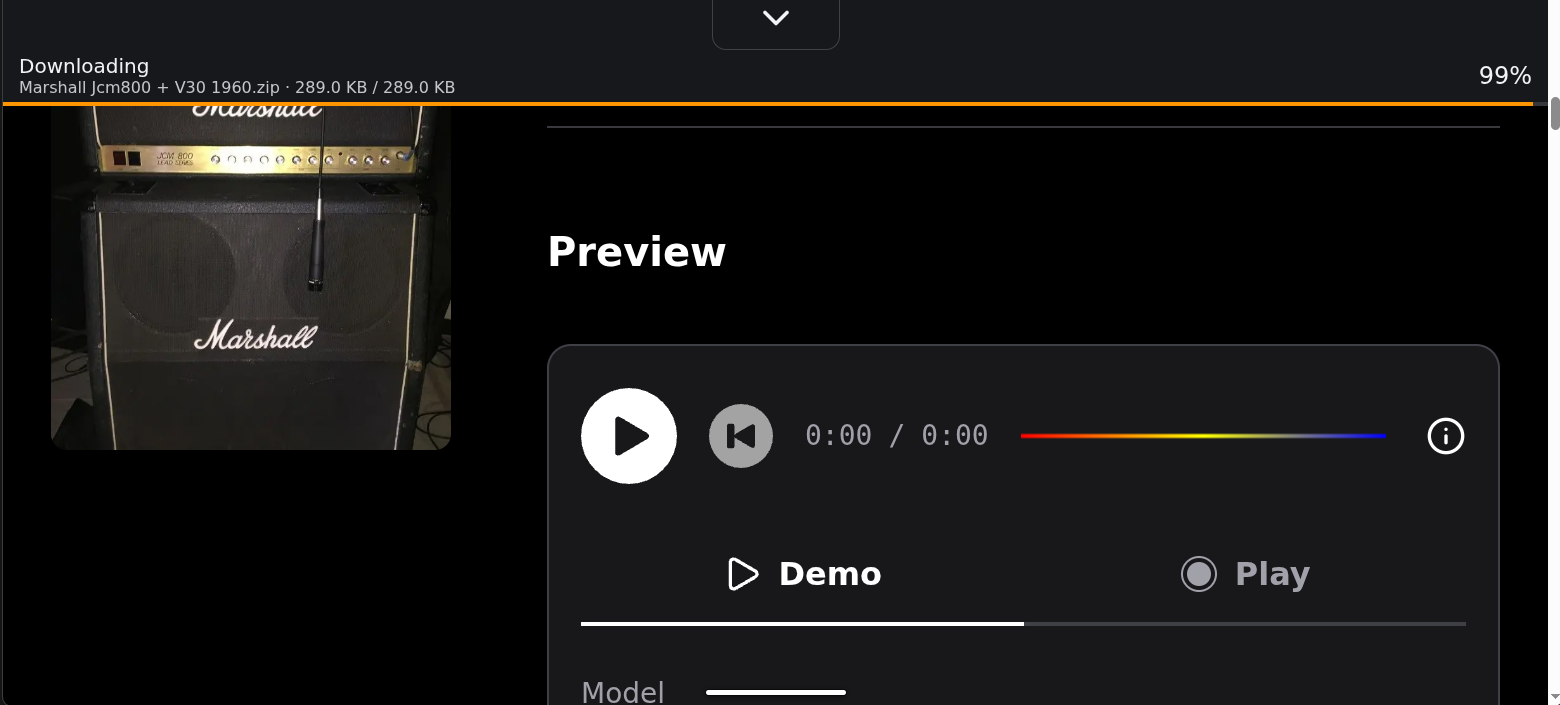 Browser download progress for the Marshall tone, still at 99 percent
You can download pedal captures in the same way. The example below is a Boss SD-1 Super Overdrive pedal capture with multiple files in the download.
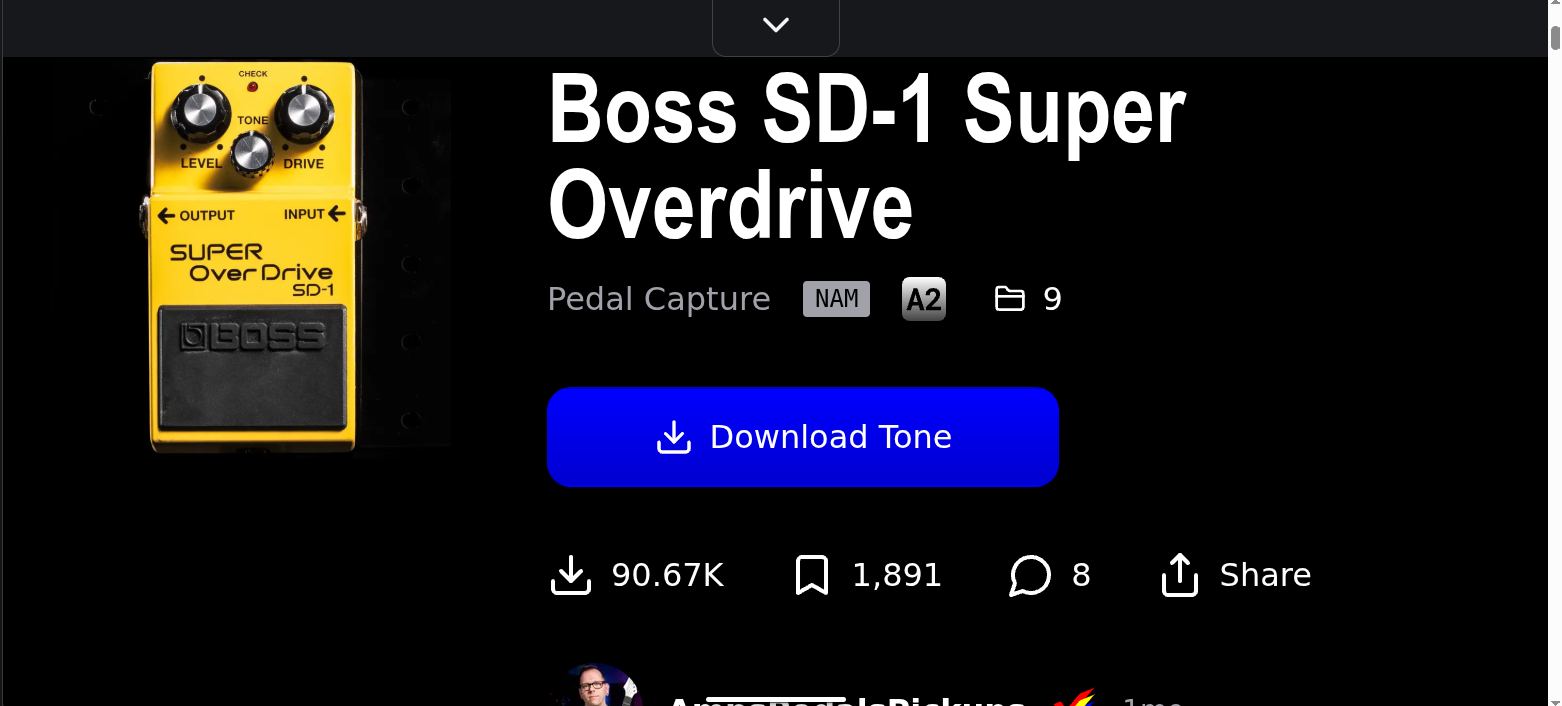 TONE3000 Boss SD-1 Super Overdrive pedal capture with a Download Tone button
3. Check the NAM library
Return to Launchpad and open NAM → Manage library to browse downloaded captures. The NAM page also offers Import over USB for a guided transfer from a computer.
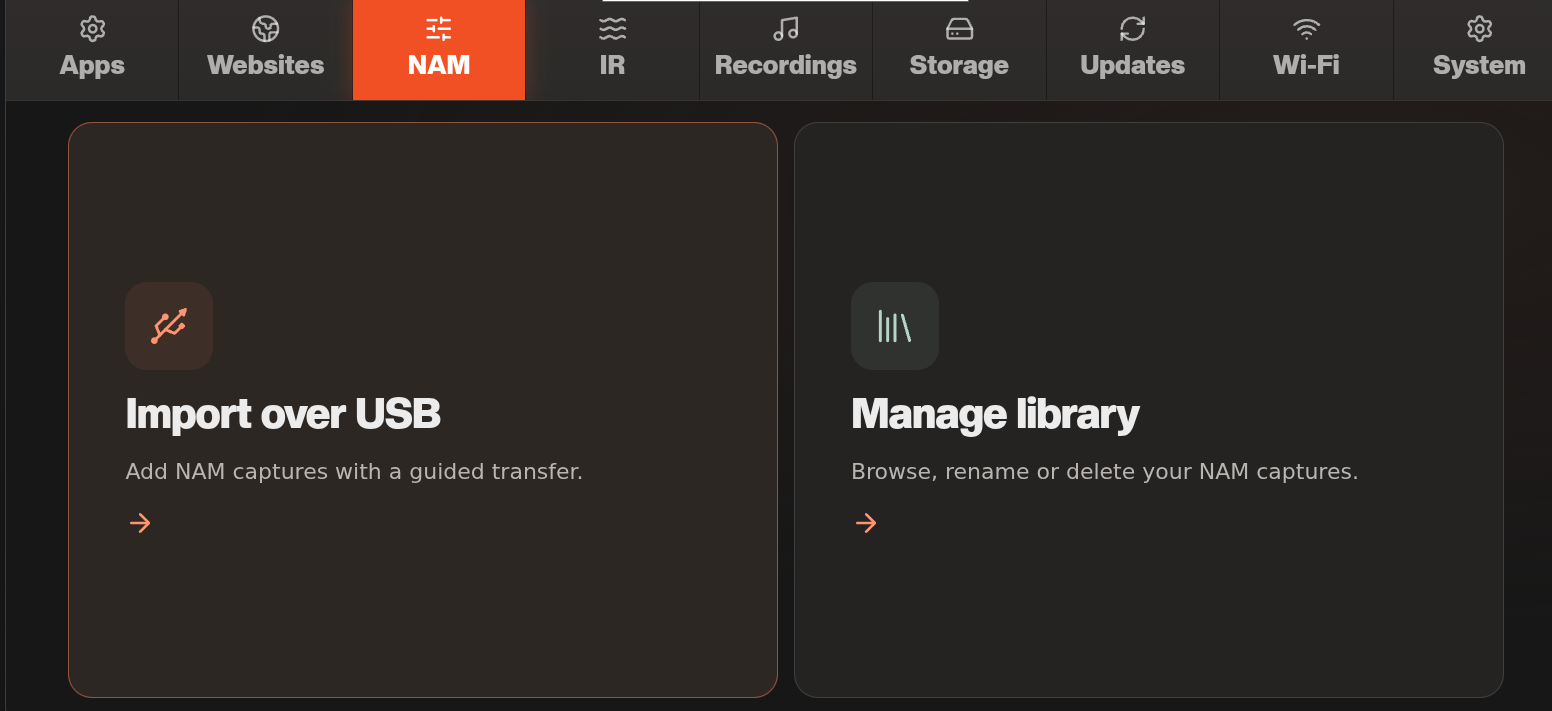 Launchpad NAM tab with Import over USB and Manage library options
Use Find a capture to search the library. The pencil beside a capture lets you rename it; Delete removes selected captures. A downloaded bundle may contain several capture files, so you may see multiple entries from one tone.
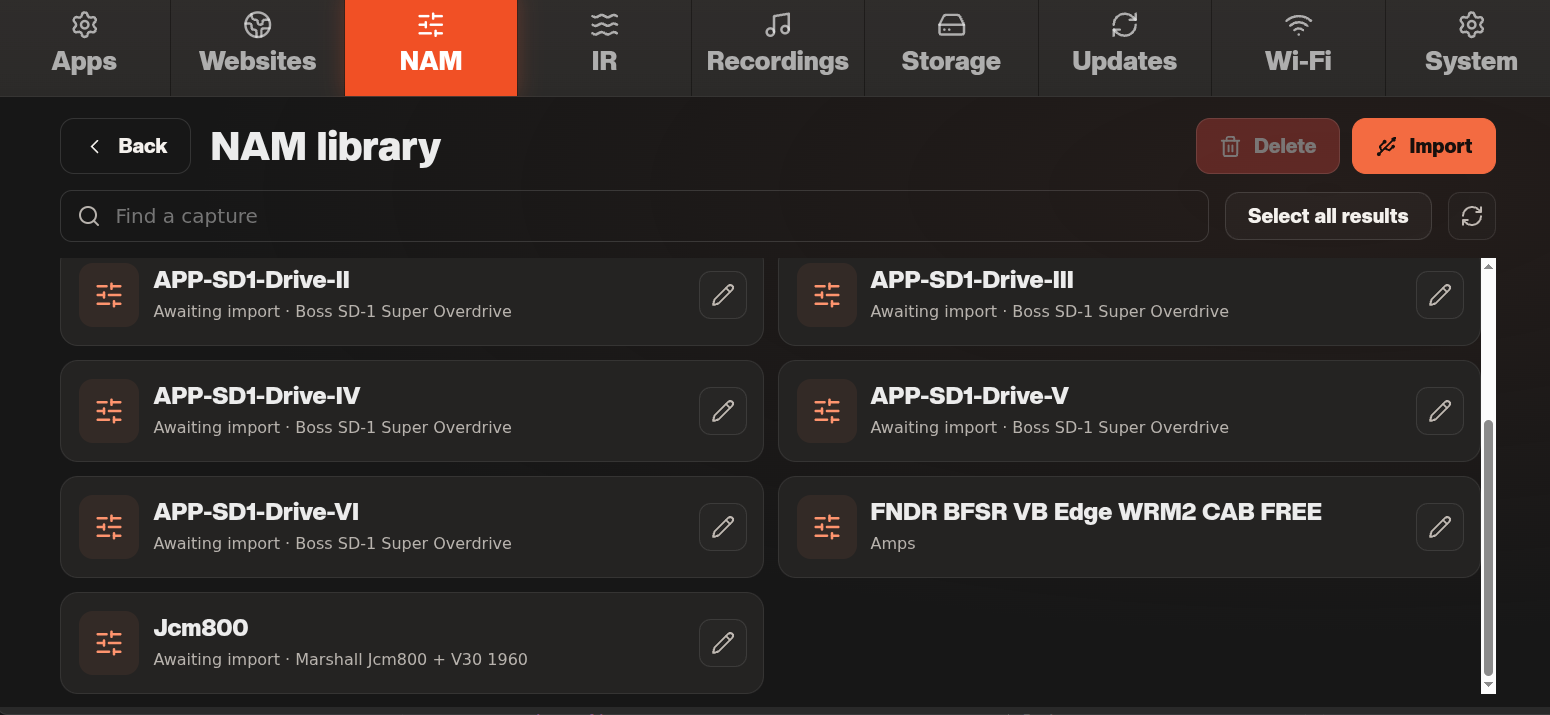 NAM library containing downloaded pedal and amp captures, including entries marked Awaiting import
Entries marked Awaiting import are imported automatically when Houston opens. For these website downloads, you do not need to start the USB import workflow. Return to Apps and launch Houston, then select the capture in a virtual block as described below.
Using NAMs in a preset
Loading an amp capture
- Open your preset and tap the virtual block where you want the amp.
- Tap Add amp, or open the virtual editor's library drawer and choose Amps.
- Select NAM to show the imported amp captures, then choose the one you want to use.
- Tap the amp card in the chain to open its controls.
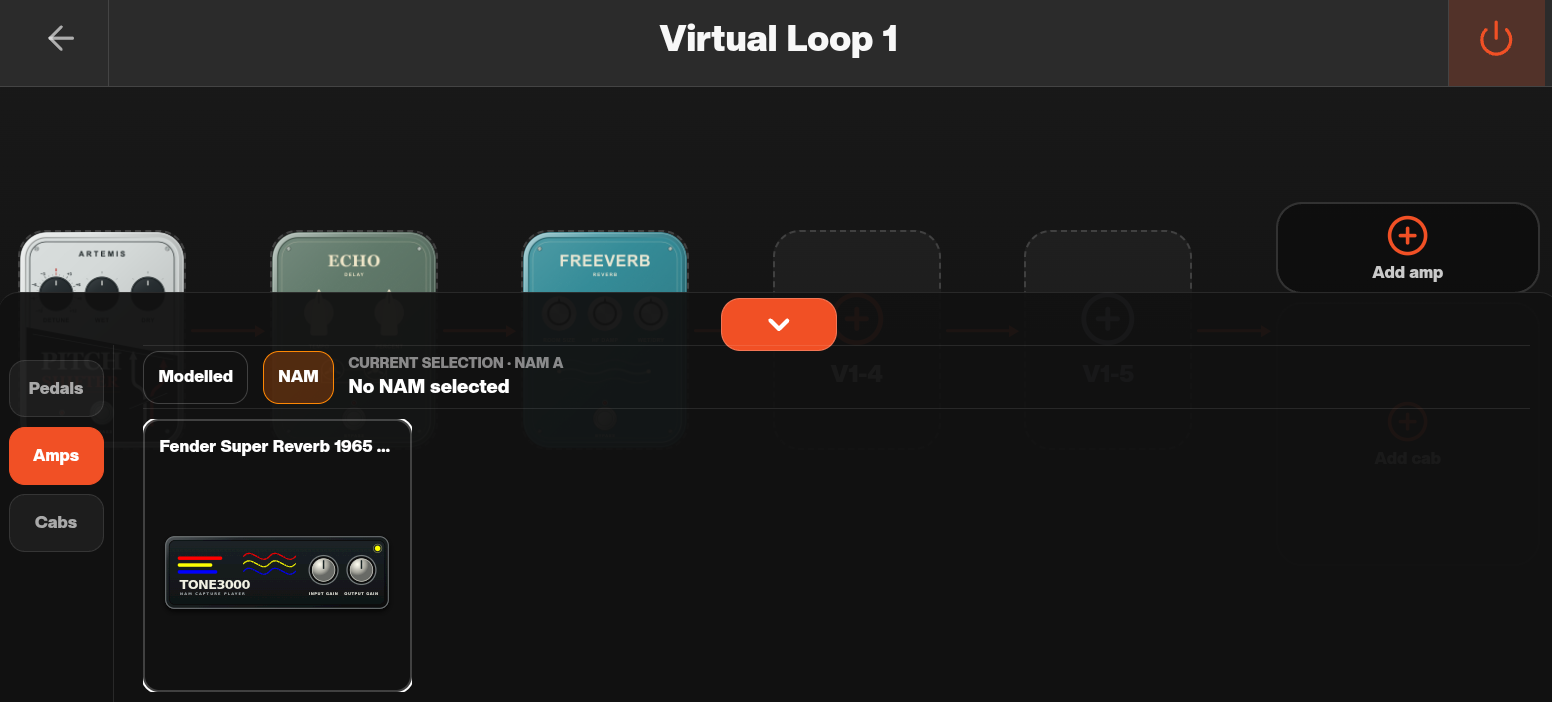 Virtual Loop 1 library showing Amps and NAM selected with an imported Fender capture available
The focus view shows the capture name, variant controls, Input Gain and Output Gain. Use Input Gain to adjust the signal feeding the model and Output Gain to balance its resulting level. Compare the sound while playing, then use the back arrow to return to the chain.
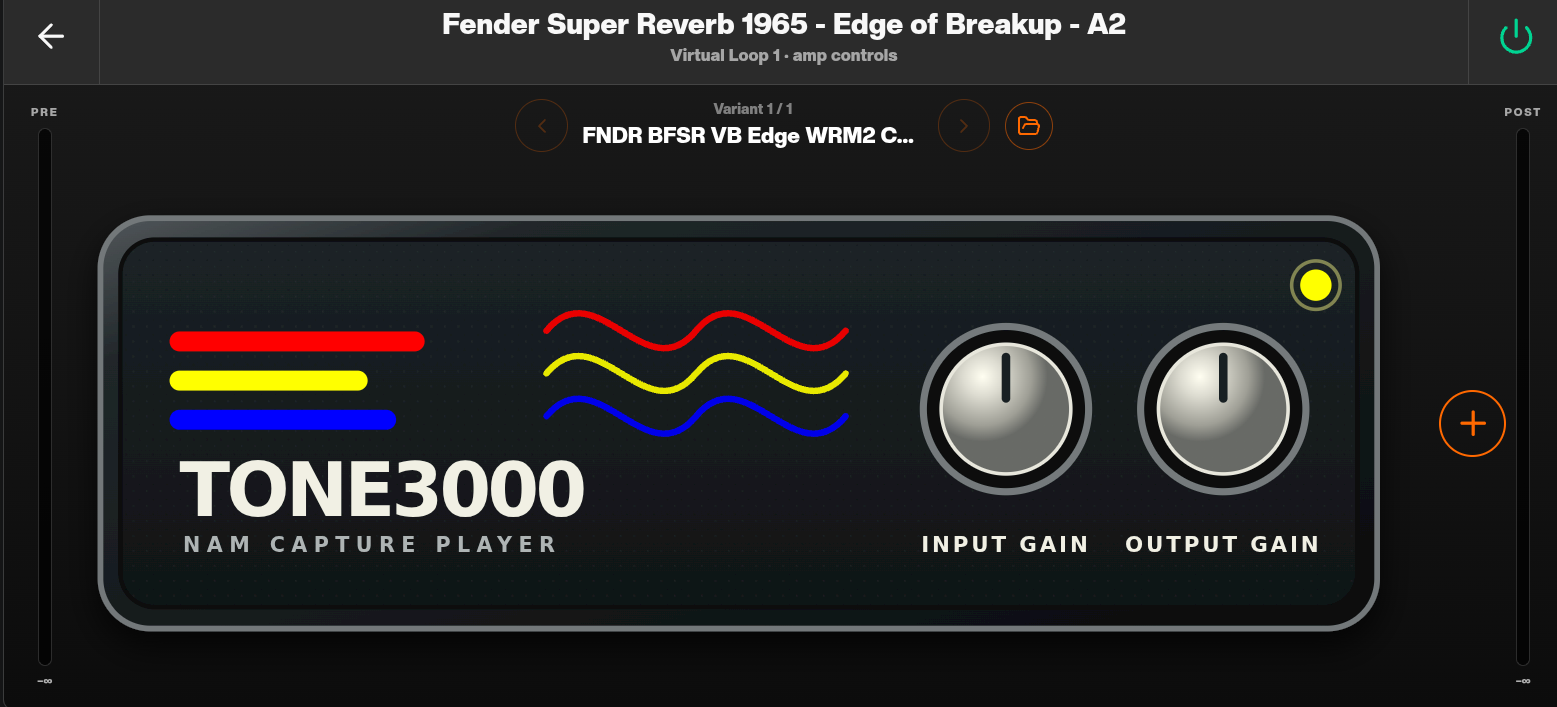 NAM amp focus view with a single variant, Input Gain, Output Gain and bypass control
The example shows Variant 1 / 1, so that capture has only one available variant. When a capture contains several variants, use the arrows beside the variant name to choose between them.
Check whether the chosen capture already includes a cabinet before adding a cab stage. The downloaded Marshall example is an Amp + Cab Capture; the Fender capture listed in the library is labelled CAB FREE. Choose the cab stage to suit the capture and your output setup.
Loading a pedal capture
Open a pedal position in the virtual chain, then select Pedals → Neural in the library drawer. Choose the imported pedal capture, place it in the chain, and tap it to edit its controls just as you would another virtual pedal.
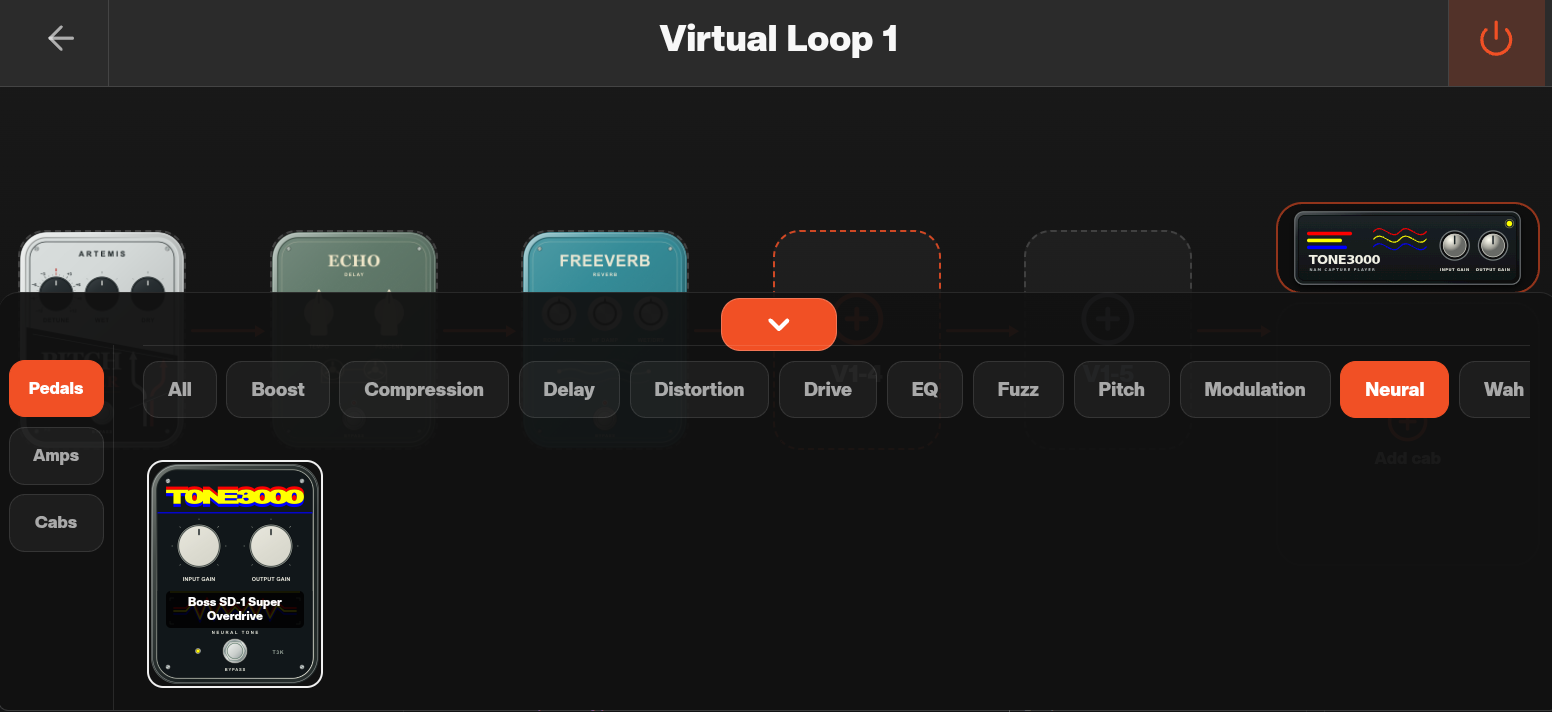 Virtual pedal library with Neural selected and an imported Boss SD-1 capture available
A NAM pedal occupies a virtual pedal position. Its position relative to the other digital pedals and the amp determines where it processes the signal.
Save and check the sound
After choosing your captures and adjusting their levels, return to the main Preset Editor and accept the save prompt when leaving. Recall the preset again to check that the model selection and settings are retained. The downloaded capture and the preset that uses it are separate items: keep the capture available in the NAM library for presets that depend on it.
Importing NAMs and IRs over USB
Use a computer to add captures or cabinet impulse responses you already own.
- Save your Houston work and return to Launchpad.
- Open NAM or IR, then choose Import over USB.
- Connect Artemis to the computer with a USB data cable and enable transfer when prompted.
- On the ARTEMIS drive, copy NAM captures into Imports/NAM, or impulse responses into Imports/IR.
- Wait for the copy to finish. Safely eject the drive on the computer, then finish USB transfer in Launchpad.
- Check Manage library in the NAM or IR tab. Newly copied files may say Awaiting import.
- Open Houston to import the files automatically, then select the capture or IR in your virtual block and save the preset.
NAM imports use .nam files. The IR importer accepts .wav, .wave, .aif, .aiff and .flac files; use actual impulse responses rather than ordinary music files. A recognised file extension does not guarantee that a model or file is valid. If a file fails to load, keep its original download and report the model/file details to support.
For an IR, open the virtual block's Cabs library and choose the imported response. An amp capture that already includes a cabinet may not need another cab stage; compare the sound with that stage bypassed.
In Launchpad's Manage library, search for a file and use its rename or delete control. Deletion is permanent. The dialog lists known presets using that file and asks for confirmation where applicable. Renaming changes the path and may require you to select the file again in those presets; deleting it requires a replacement. Keep an archive before reorganising a library used by performance presets.
Levels and processing limits
Set levels in signal order: the instrument and external pedals first, then the virtual-block input, effect/amp levels, virtual-block master and final bus mix. Play your strongest notes while adjusting. Leave headroom instead of setting every stage to its maximum.
A digital clip indication means a monitored signal has reached its limit. Reduce the level feeding that stage; turning down a later master cannot undo distortion already introduced upstream. Intentional drive or NAM saturation is part of the effect, but harsh distortion on a clean preset is a reason to check the gain structure.
When mixing analogue and processed paths, match their perceived levels with the mixer. Two copies of the same signal can become louder when combined, so recheck the final output after adding Bus B. Save the balanced levels with the preset.
Each virtual block has up to five pedal positions plus its amp and cab stages. This layout limit does not guarantee that every combination of models has the same processing cost. Complex captures and chains require more processing. If a preset produces clicks, dropouts or loading errors, return to a simple working preset, remove unused stages and add effects back one at a time. Try a less demanding capture if the problem appears with a particular NAM. Give support the exact model files and preset if it persists.
Digital processing also introduces latency. Mixing a direct analogue signal with a delayed copy can produce a thin or hollow sound. Compare each bus alone, then together. Bus B polarity inversion may improve the combination, but it does not remove the timing difference. If neither polarity sounds right, use a serial route or avoid blending that direct and processed pair.
Effect reference
See the Digital Effects Reference for the available pedal families, their controls and practical starting points, plus guidance for amp, NAM and cab stages.
Common control names mean the following:
| Control | What it changes |
|---|---|
| Drive, Fuzz, Sustain | The amount or character of distortion/sustain; behaviour depends on the model. |
| Input, Input Gain | Level entering an effect or model. It can change how a drive or NAM responds. |
| Level, Volume, Output, Master | Level at the named stage. Use it to balance the processed sound with bypass. |
| Mix | Balance between dry and processed sound. |
| Dry / Wet | Separate levels for the unprocessed and processed signals. |
| Tone, Bass, Middle, Treble | Tonal balance; start near the middle of the control's travel and adjust by ear. |
| BPM | Tempo for supported delay or modulation effects. Select it to configure manual tempo, expression or clock where offered. |
| Feedback | How much processed signal feeds back into the effect. High values can build up strongly. |
| Depth | Strength of a modulation sweep. |
| Attack / Release | How quickly a dynamics effect responds and recovers. |
| Threshold | Signal level at which a dynamics process begins to act. |
| Highpass / Lowpass | Remove frequencies below / above the selected cutoff. |
Control scales differ between effects. Use the values and units shown in the focus view rather than transferring the same number between unrelated models. Save the preset after editing.