MIDI
On this page
Artemis can receive commands from a controller, send commands to external pedals, and send or receive MIDI clock. Set up the cable direction and channels first, then test one message before building a complete performance layout.
Connections and channel setup
Drawing signal path…
Text version of the diagram
flowchart LR
    Controller["Controller MIDI OUT"] -->|5-pin DIN| In["Artemis MIDI IN"]
    Out["Artemis MIDI OUT"] -->|5-pin DIN| Pedal["External pedal MIDI IN"]
To control Artemis, open Preferences in the Home/settings carousel. Set MIDI IN MODE to Receive and choose the same MIDI IN CHANNEL as your controller. Off disables mapped input control. Thru also receives mapped commands and forwards incoming MIDI; use it only when your downstream devices need those messages.
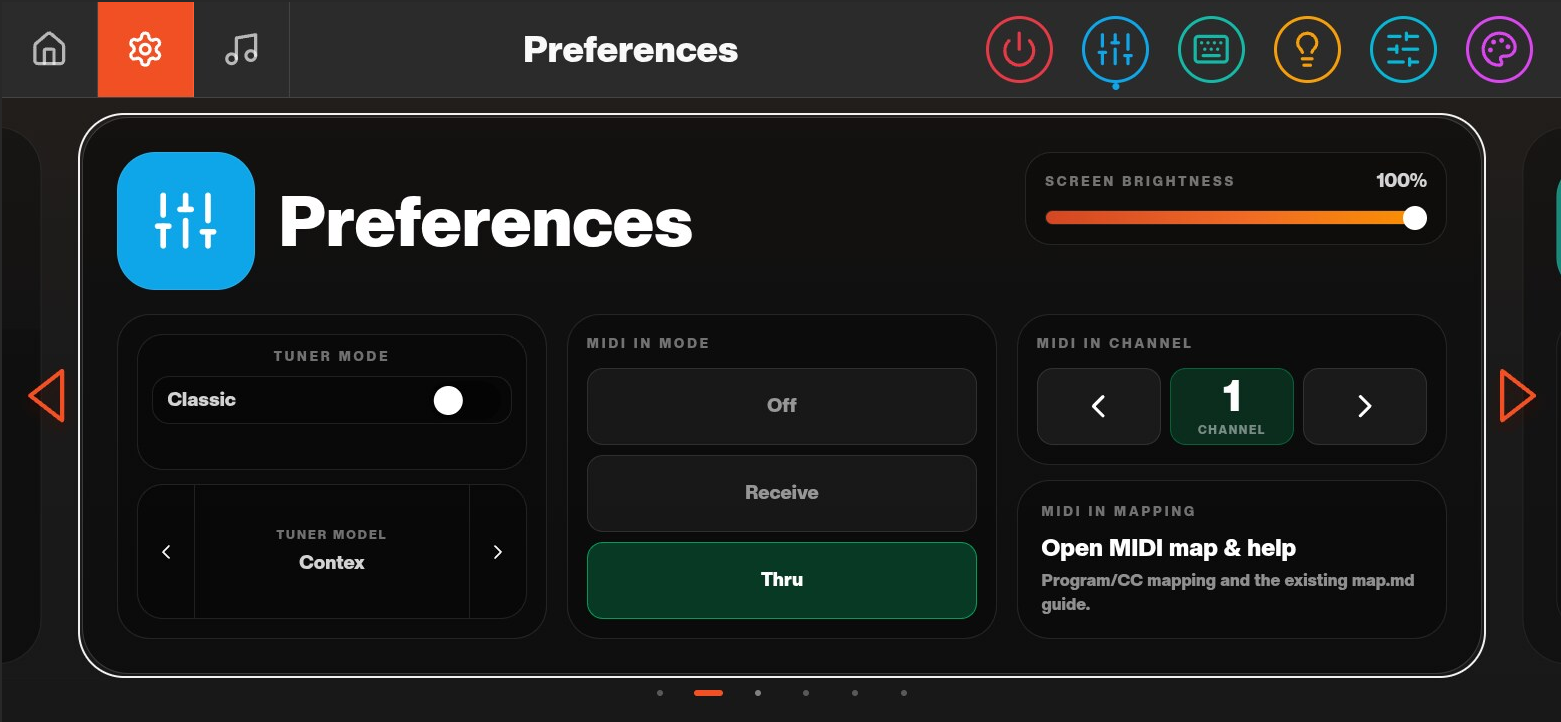 Preferences showing MIDI input mode, input channel and the MIDI map shortcut
To organise external MIDI pedals, open My Pedalboard → Edit, then tap the blue MIDI icon. Add each device with the plus button and set its channel to match the channel configured on the pedal itself.
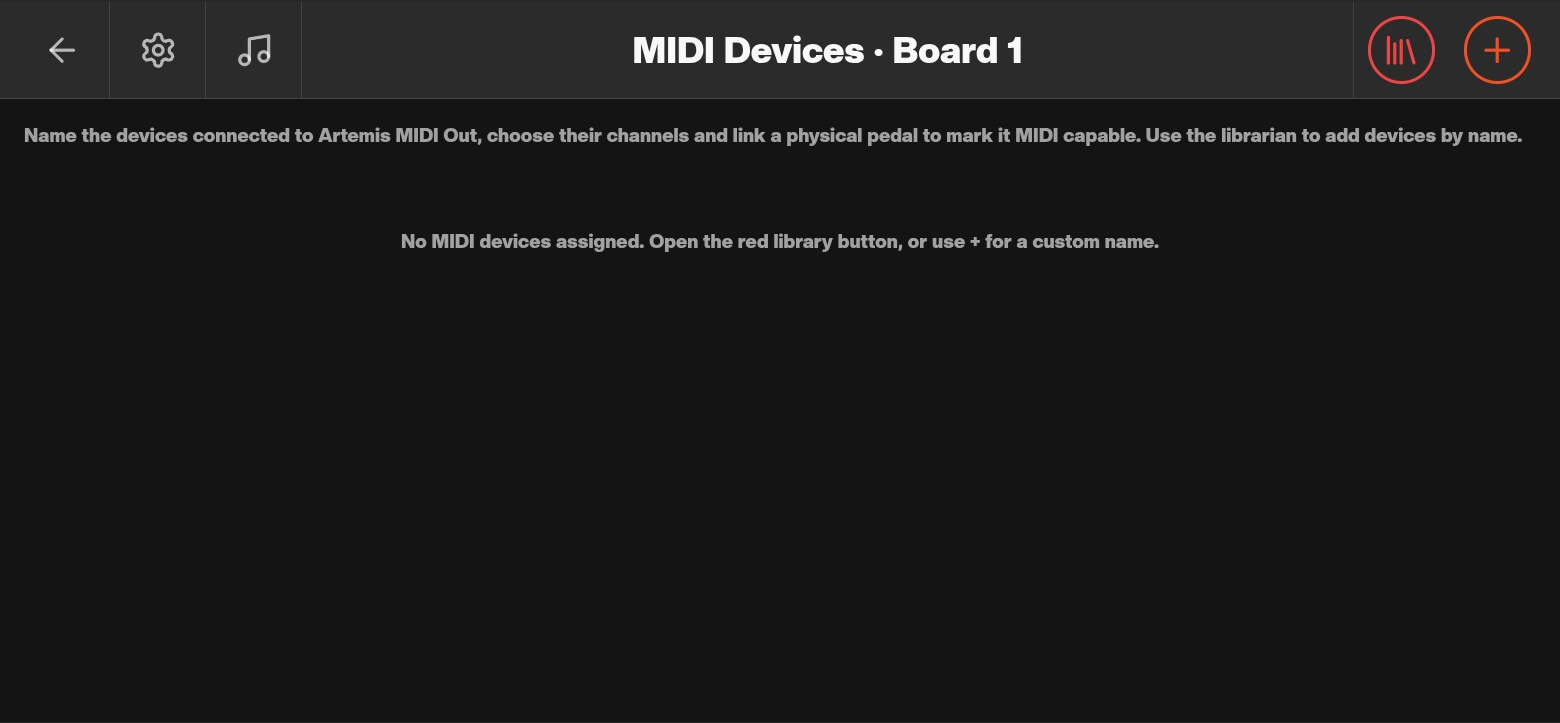 MIDI device configuration for the selected pedalboard
Give devices different receive channels when they need independent commands. Adding a device in Houston does not change that device's own settings.
MIDI Librarian
The Library button opens the searchable MIDI Librarian. Find a device, review its listed functions, and favourite it for quick access through the star filter. Use those function definitions when building messages for devices assigned to your pedalboard.
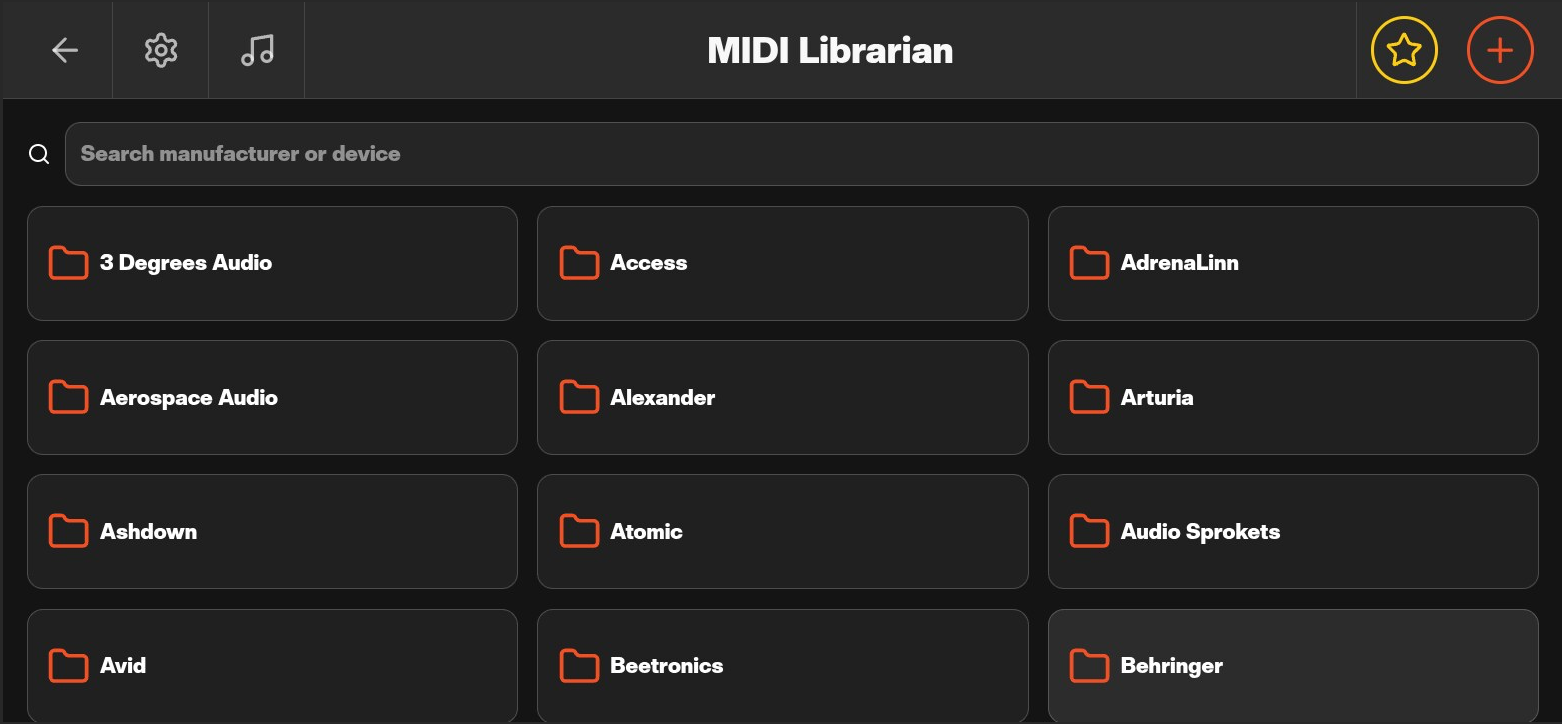 MIDI Librarian with searchable device entries
The librarian uses the community Open MIDI library. Check the external device's manual if a command is missing or its behaviour differs from the listed entry.
Controlling Artemis from a MIDI controller (MIDI In)
- Connect the controller's MIDI OUT to Artemis MIDI IN.
- Set Artemis to Receive and match the receive channel to your controller.
- Open Open MIDI map & help from Preferences, or choose Receive from the Preset Editor's MIDI menu.
- Find the action or library item you want to control.
- Enter the displayed PC number, or the displayed CC number and value, in the controller.
- Send one message and check the result on Artemis.
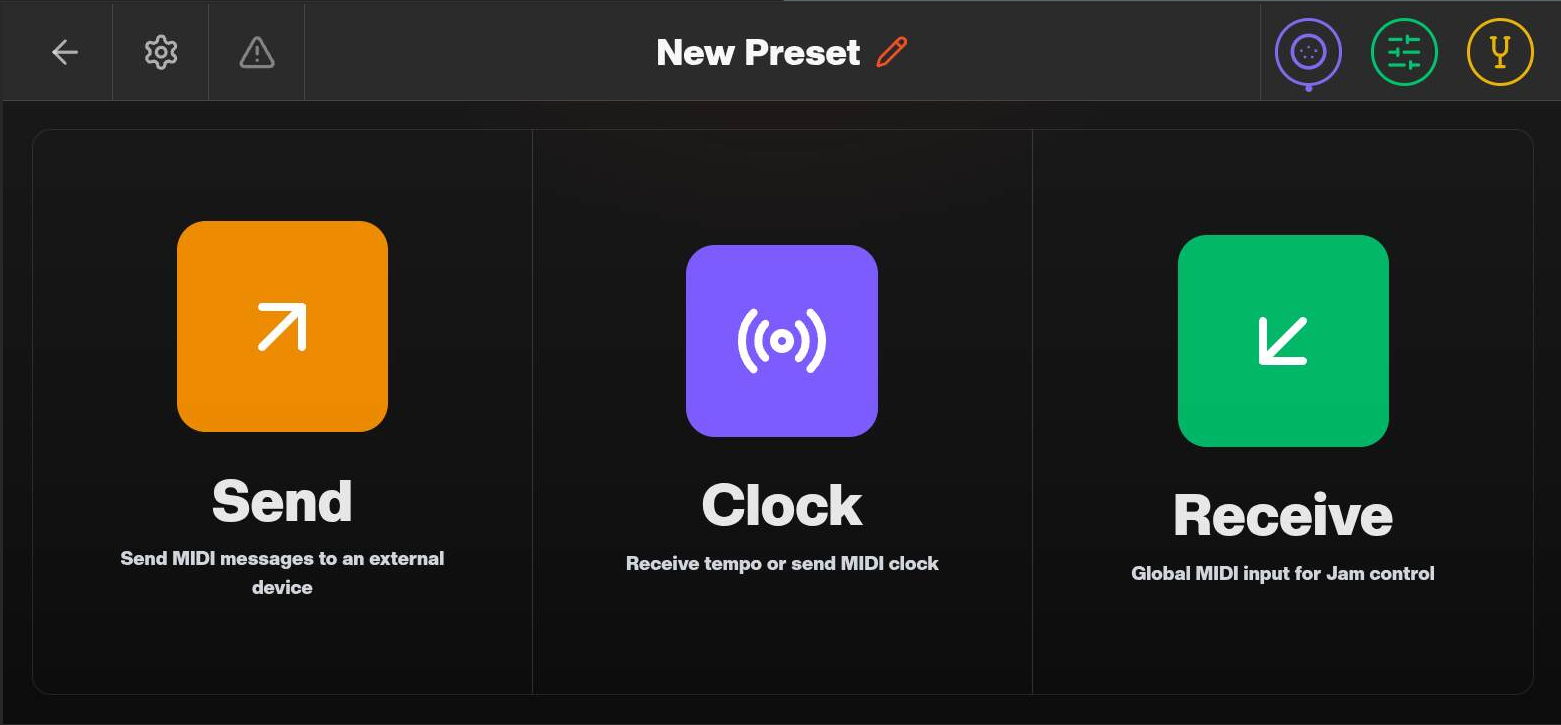 MIDI menu offering Send, Clock and Receive
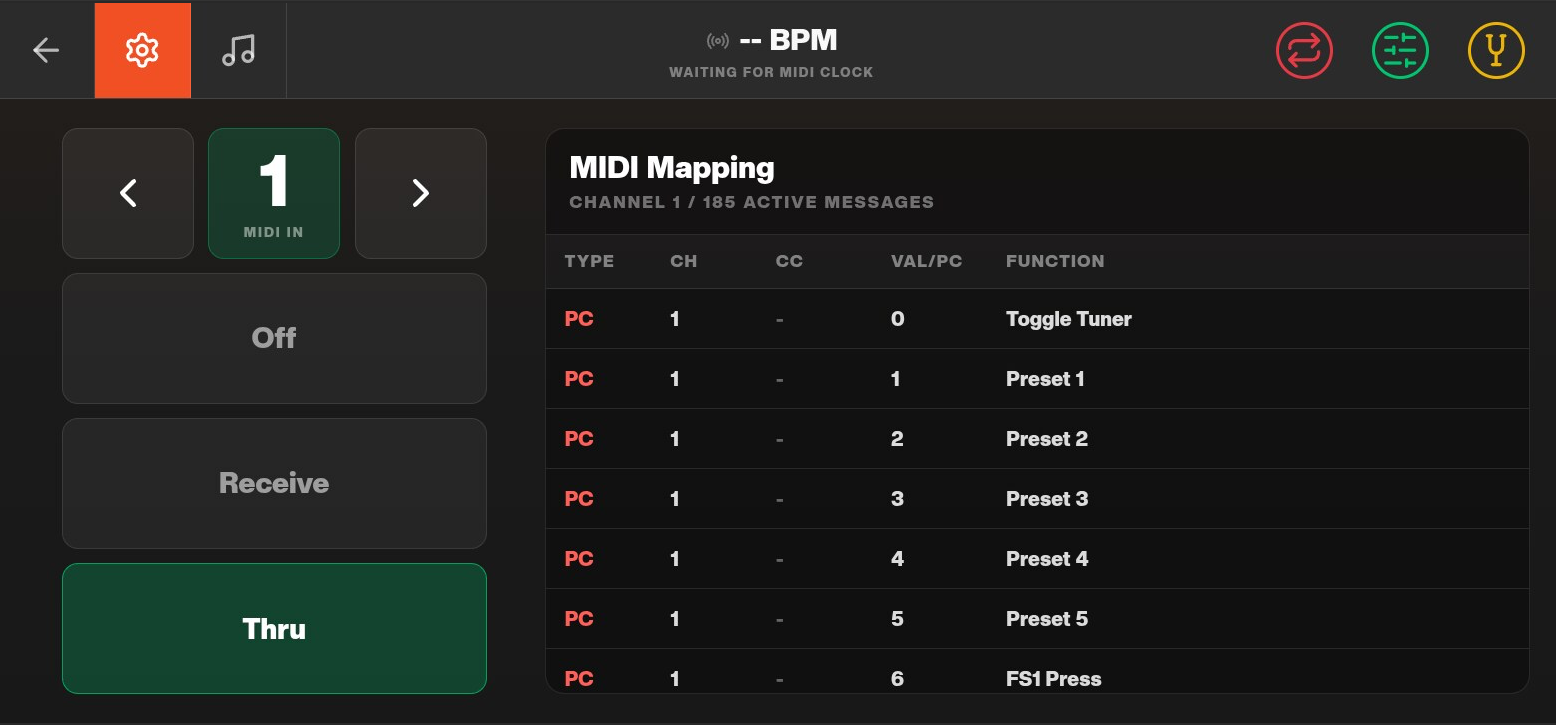 Artemis MIDI receive map with input settings and mapped actions
For a first test, load a song with a sound preset in slot 1 and send PC 1. This selects Jam slot 1. Artemis uses MIDI numbers 0–127; a controller that displays programs as 1–128 may need its displayed number offset by one.
The live map lists addresses for your actual preset, song and setlist library. Recheck it after reorganising or deleting library items rather than relying on a remembered position. Recalling a library preset by CC makes it active; it does not replace a saved song slot. Use the Jam assignment actions in the reference when that is your intention, then save the song.
Controlling external MIDI pedals (MIDI Out)
Connect Artemis MIDI OUT to the external pedal's MIDI IN. Set the pedal's receive channel first, then use that channel in Houston.
Send messages with a preset
- Open the preset and tap the MIDI icon (the DIN socket symbol).
- Choose Send.
- Add a message row and select PC or CC.
- Set the destination channel and program/controller number. For a CC message, also set its value.
- Tap the row's send arrow to test it immediately.
- Add further messages as needed, then save the preset.
- Select another preset and return to this one to check the complete recall.
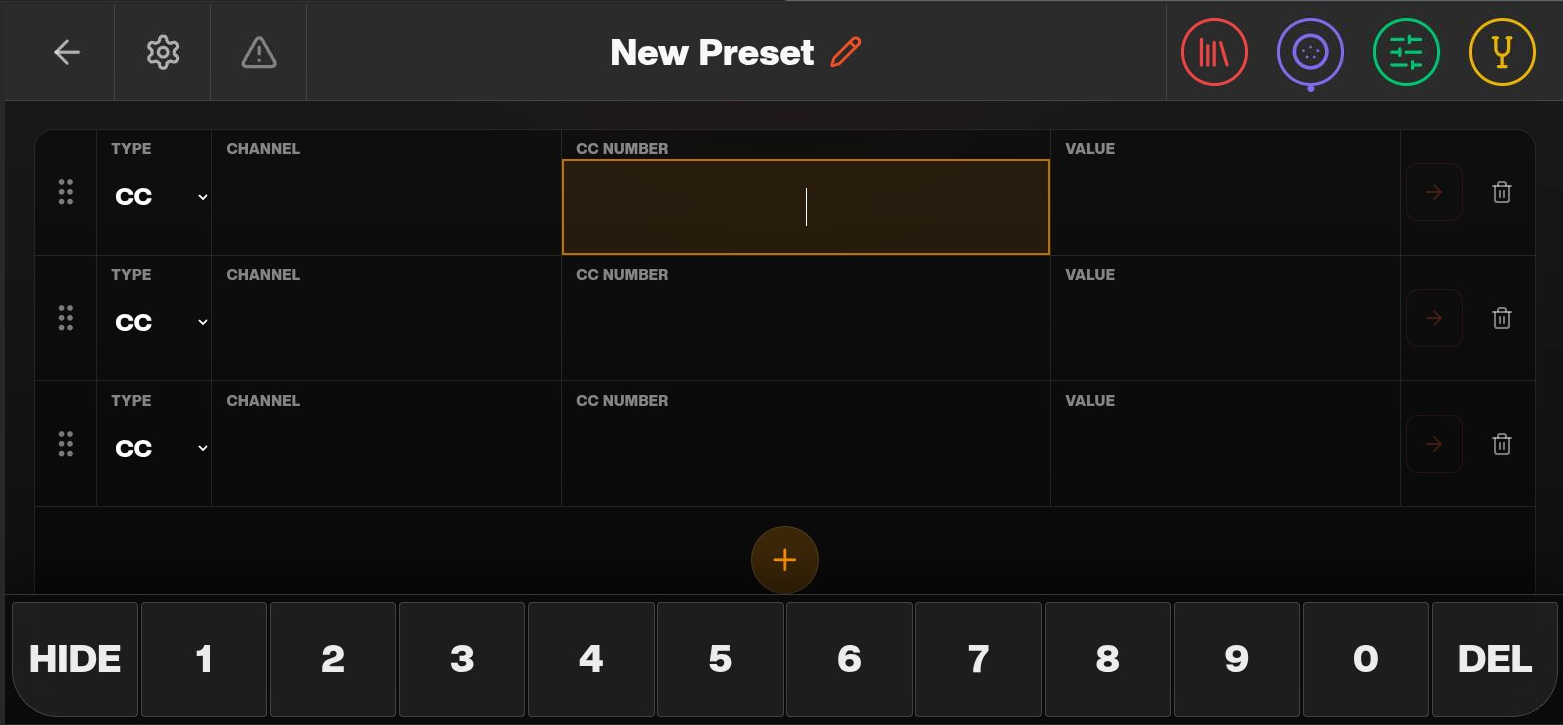 Preset MIDI Send table with message rows and send controls
For example, if a pedal's manual assigns a sound to PC 12 on channel 2, enter that program and channel in a row. Use the pedal's documented numbering convention when translating its display into MIDI values.
Send messages from a song utility
In an empty song slot, tap Add Preset, switch the picker to Utilities, then choose Create MIDI Utility. Name the utility, add and test its message rows, and save it. Assign it to the song slot and save the song as well.
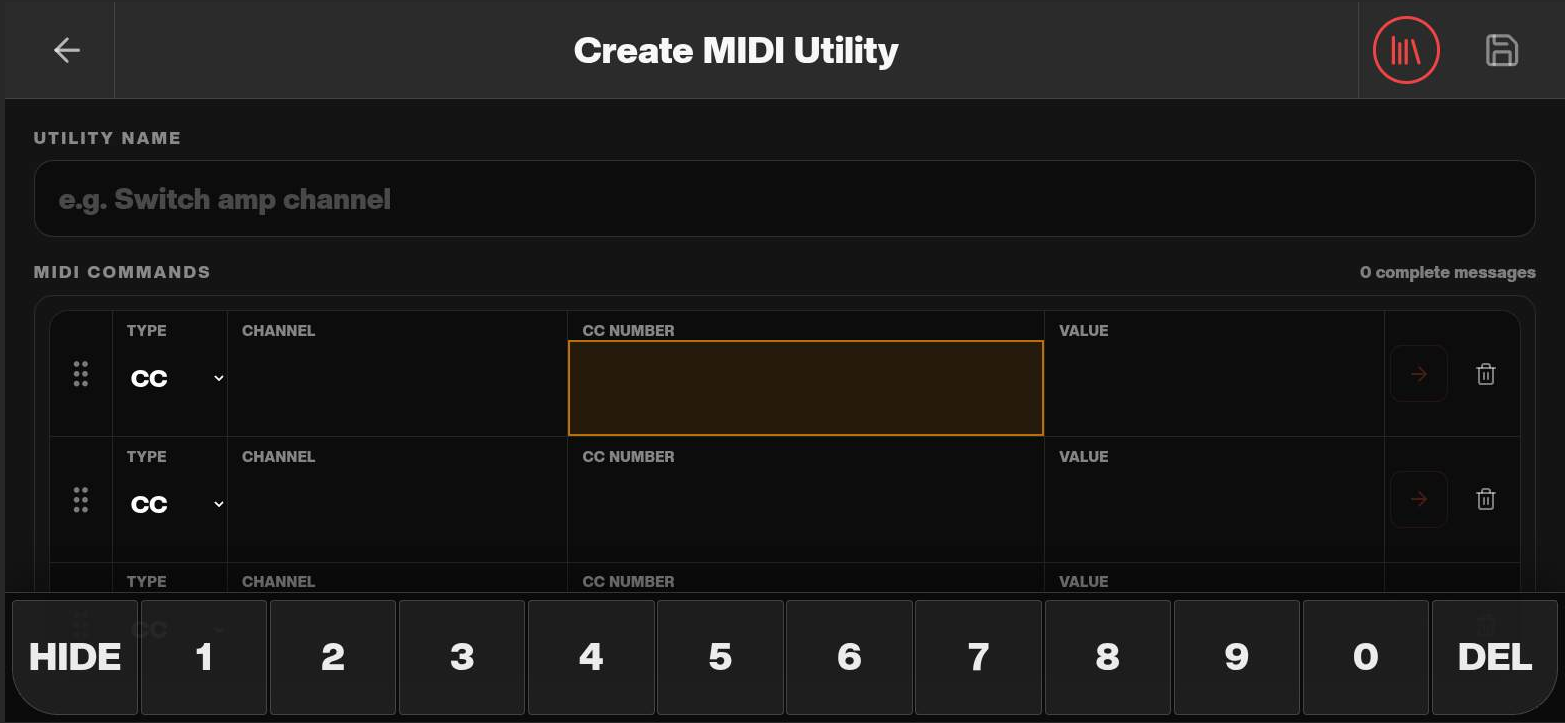 MIDI utility editor for creating a named set of messages
A MIDI utility gives a footswitch its own command sequence. It is useful for an external pedal function that you want to trigger independently of your sound presets.
Clock, synchronisation and MIDI thru
Open the Preset Editor's MIDI → Clock page.
To send clock, select Send Clock, set Output tempo between 20 and 360 BPM, and tap Start. Use Update to change a running clock and Stop to stop it. The output uses standard MIDI clock at 24 pulses per quarter note. Configure the receiving pedal to follow external MIDI clock.
To follow another device, connect its MIDI OUT to Artemis MIDI IN and select Receive Clock. Check for a detected BPM and Clock locked. Waiting for MIDI clock means no usable clock has been detected.
An effect follows the clock only when an eligible tempo parameter is assigned to it. Open the effect's focus view, select its tempo control, choose Clock in the assignment panel, and select a subdivision. Only subdivisions within the parameter's supported range are available. Save the preset to keep the assignment. A manual tempo or expression assignment is a different source; receiving clock does not automatically synchronise every effect.
For forwarding, select Thru as the MIDI input mode. Artemis can still act on its mapped incoming commands in this mode. Use one clock source in the chain and avoid a cable route that sends Artemis's output back to its own input; a MIDI loop can repeat commands or clock pulses.
MIDI troubleshooting
| Symptom | What to check |
|---|---|
| No response | Confirm OUT-to-IN wiring, input mode, matching channels and the command in the live receive map. Test a single message. |
| The adjacent program loads | Check whether the controller displays programs as 0–127 or 1–128. |
| The wrong library item loads | Reopen the map and copy both the CC number and value for the intended item. |
| A footswitch remains logically held | Send its matching release PC after a simulated press. For simple preset selection, use PC 1–5. |
| Unexpected parameter movement | Check expression assignments, including EXP BT if configured, and whether the controller sends CC 0. |
| Duplicate commands or unstable tempo | Check Thru settings, remove circular routes and stop competing clock sources. |
| Clock arrives but an effect does not follow | Assign Clock to that effect's eligible tempo control and check its subdivision. |
Use the Send table's arrows to test outgoing messages individually, the receive map to verify incoming addresses, and the Clock page to check tempo reception. The MIDI implementation reference lists the supported command ranges.